Guide to Lawnmower Carburetors
Keeping your lawn mower in top shape doesn’t have to be costly. In fact, with some basic tools, you can do most of the maintenance yourself. One of the most common causes of poor performance is your carburetor. This is everything you need to know about troubleshooting lawn mower carburetor issues.

What is a Carburetor?
Understanding what your lawn mower carburetor does it the first step to keeping it in good working order. You probably already know that engines produce motion by burning fuel. More specifically, burning fuel yields heat energy, which is harnessed to create movement. However, you may not realize that fuel must be mixed with air to produce the necessary amount of heat.
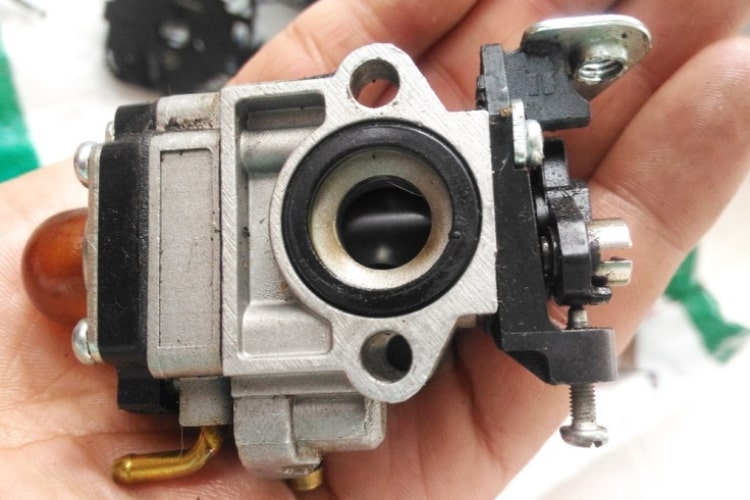
Carburetors are responsible for creating this mix. They combine air and fuel together in just the right proportion to maximize power and minimize fuel consumption. Carburetors adjust the balance of air and fuel based on a variety of factors, including how long the engine has been running, the type of terrain you are crossing, and your speed.
If your lawn mower carburetor isn’t functioning properly, the engine may still run. When there is too much air and not enough fuel, you will notice diminished engine power. When there is too much fuel and not enough air, you will notice higher rates of fuel consumption. If the balance gets too far off in either direction, your lawn mower will not operate at all.
Do-It-Yourself Lawn Mower Carburetor Maintenance
Your lawn mower carburetor works best when it is clean, so this should be part of your regular maintenance routine. It is also the first thing to try if you notice problems with your lawn mower’s power or fuel efficiency. Carburetor clogs and corrosion are the most common culprits when your lawn mower won’t run.
Begin by checking the air filter. This part is responsible for ensuring no outside debris gets into the carburetor. Next, move on to the fuel line. Remove it at the point where it enters the carburetor. You should see a small amount of fuel trickling out of the end of the line, as well as the entry point. If not, the fuel filter or the fuel line could be clogged.

You can attempt to clean these parts before reattaching them. If it is a minor issue, this is the easiest way to solve the problem. However, in most cases, replacing the clogged filters and lines is the most effective solution.
If it isn’t a problem with your air filter, fuel filter, or fuel line, it’s time to look at the carburetor more closely. It is attached to the engine with bolts that you can typically remove with a socket wrench. Once the carburetor is detached, examine it carefully for corrosion. If you spot any corrosion, it’s time for a new carburetor. The part is relatively inexpensive – usually between $10 – $25. You can expect to pay between $40 – $75 for installation at your local small engine shop.
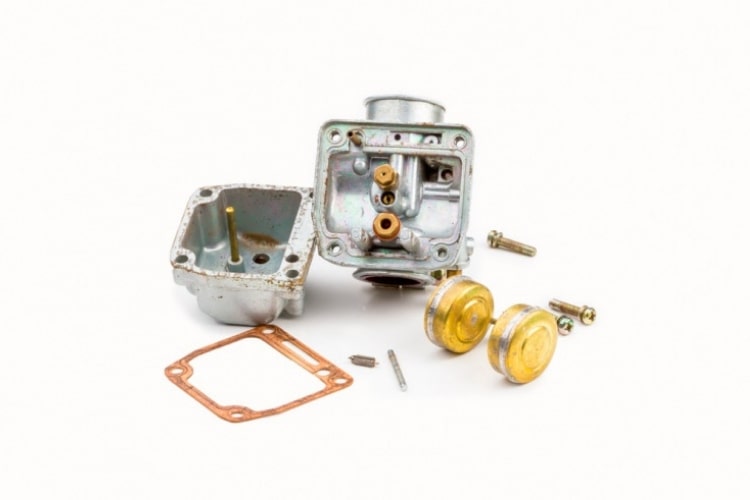
If no corrosion is present, the carburetor may just need a good cleaning. Cleanse each part with a product specifically designed for carburetor maintenance, then use compressed air to ensure all parts are completely dry. Use a lawn mower carburetor diagram if you need help reassembling the carburetor. Then, reattach it to the engine, taking care that bolts are secure.
Finally, you may need to adjust your carburetor to maximize power and/or minimize fuel consumption or correct idle speed. On most models, this is a simple task. On many models, there is an air mixture screw, usually where the air cleaner filter hose connects. Once the engine is warmed up, use a screwdriver to return the mixture to manufacturer-recommended settings.
Depending on the model, there may also be an idle speed screw on the carburetor. With the engine running, use a screwdriver to turn the screw clockwise, then counter-clockwise. Find the midpoint where the idle speed is just right.


