5 Simple Steps To Take Your Car Out Of Storage
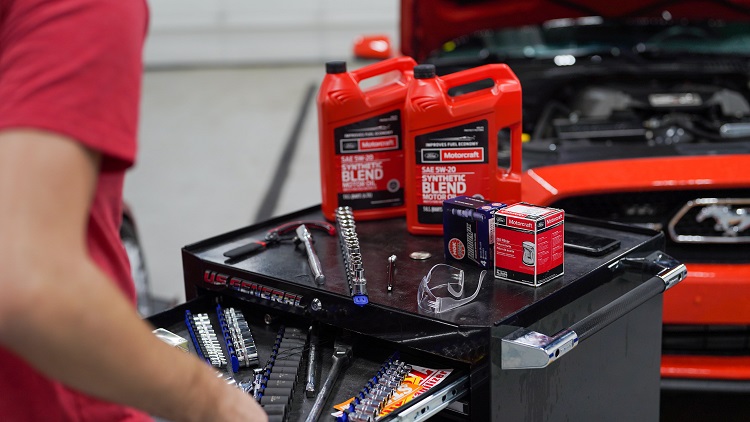
When the weather starts taking a favorable turn, it’s time to wake up the classics, convertibles, and every other model that’s been safely hidden away over the winter.
Some of us genuinely enjoy the process of prepping the car for spring after a long hibernation. Others wish it was as easy as opening the garage door and saying, “Wakey wakey, eggs & bakey” to a fully functional automobile.
Regardless of where you lie on the car enthusiast spectrum, we’re here to share five simple steps to take your car out of storage the right way.
Perhaps one day we will live in a world where a loving expression about breakfast food is all a car needs to get up and active after remaining dormant for months. But until then, we recommend following this checklist before you hop in the driver’s seat, grip the steering wheel, and put the pedal to the metal.
1. Check Tire Pressure
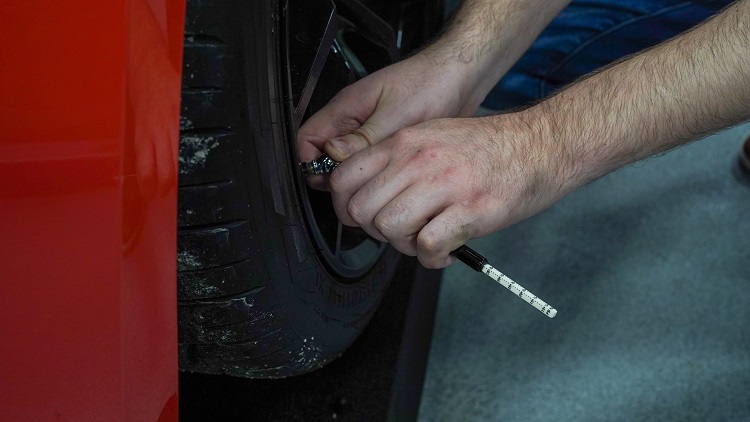
Use a pressure gauge on all four of your tires to check the current PSI. Tires naturally lose pressure over time and cold weather expedites this process. If you are below the recommended PSI (most models require 32-35 PSI), grab an air compressor to get them back in a safe range. We recommend doing this step first because it gives you the opportunity to do a full walk-around of the vehicle. If anything seems amiss, you will know about it right away.
2. Test Battery
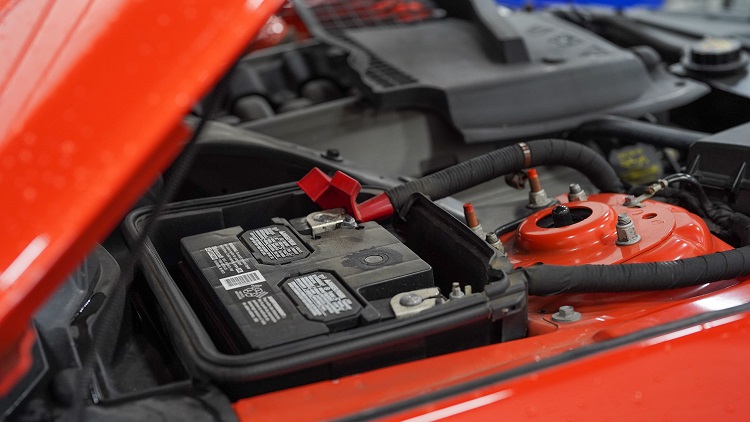
Savvy ones know the importance of hooking your car up with a battery maintainer to keep it automatically charged in storage. For those who don’t have one, use a car battery tester to reveal the battery’s voltage before you start the car. Next, check for signs of corrosion and make sure the connections are firmly in place. So long as you have the proper voltage and clear connections, your battery is in good shape.
3. Look for Signs of Leakage or Damage
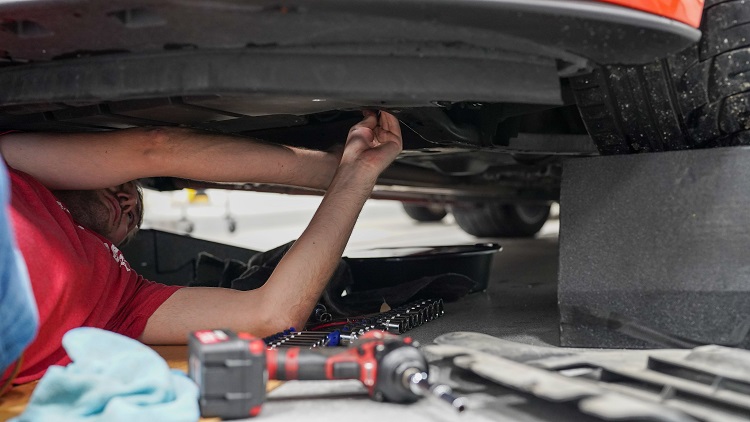
If you didn’t notice any red flags during the tire pressure walk-around, that doesn’t mean you are out of the woods yet. Take the time to look for any signs of leakage underneath the front and back of the car. Hoses are susceptible to drying and cracking, which can cause oil, transmission fluid, and power steering fluid to leak. In some cases, a rodent may even chew electrical wires and you will cause further damage if you are driving it in that condition.
4. Examine Under the Hood & All Fluids
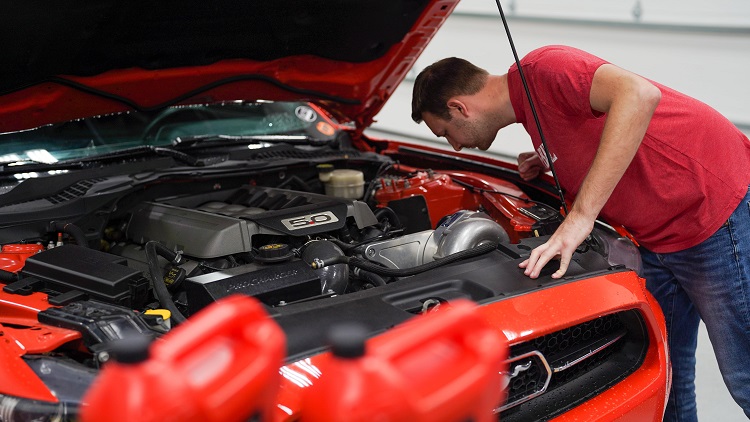
Every responsible car owner understands the importance of popping the hood to take a good look around. This is especially true if your model hasn’t been driven in a while. Check the oil by pulling out the dipstick and examining the fluid level. If your levels are low, add fresh engine oil before you start driving again. The very same practice should be followed for other liquids like windshield wiper washer fluid, coolant, power steering, brakes, and fuel. As a best practice in the future, use a fuel stabilizer before storage to keep the gasoline in the tank fresh.
5. Do a Thorough Cleaning
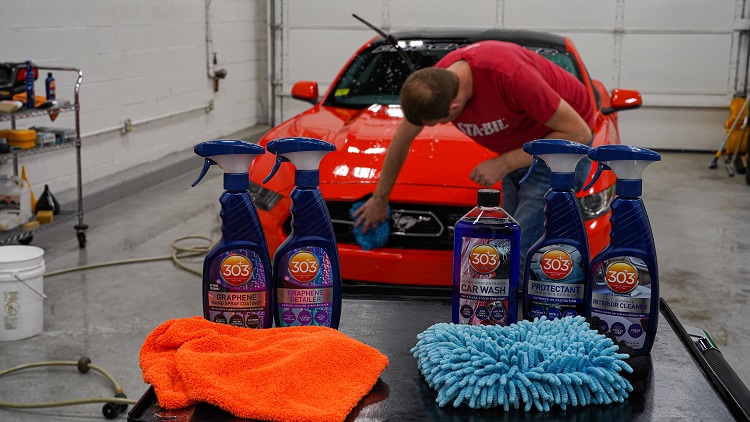
Your car hasn’t been touched in quite some time. That lends ample opportunity for dust and dirt to collect in every nook and cranny of your beloved whip, midlife crisis mobile, or whatever term of endearment you like to use. We recommend thoroughly cleaning the exterior and interior so that first drive out of storage sets the tone for every trip you plan to take in the next several months. If you’re in the market for the right equipment, try an auto essentials care kit that includes everything you will need.


